Setting Up Your Encryption
How your encryption key is created, where it lives, how to add and remove devices, and what recovery can and cannot do for you.

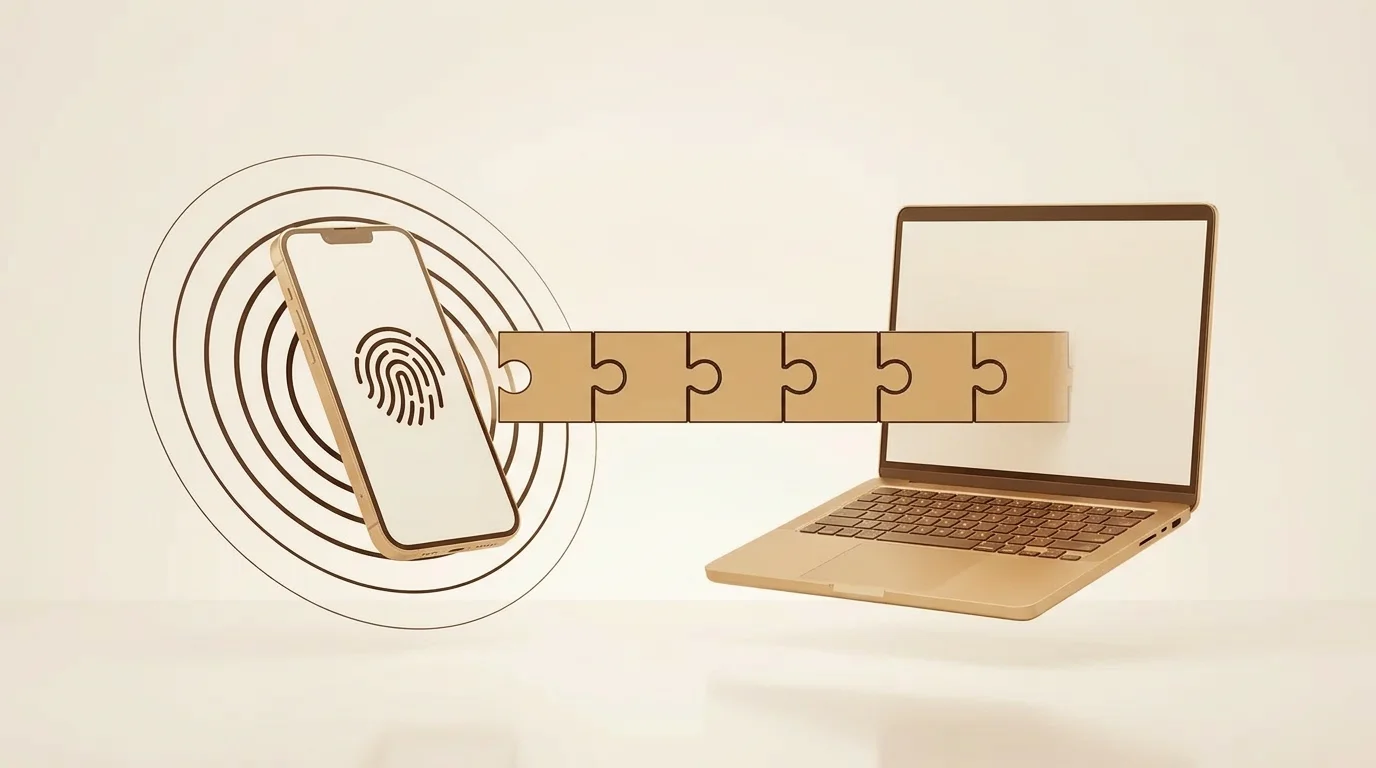
Encryption in LumaVista is not a setting you go and switch on. It happens during signup, before you have done anything worth protecting, and the key is generated on your device rather than issued to you by us.
This page covers what that setup actually does, how to manage your devices afterwards, and — the part most guides skip — what recovery genuinely can and cannot do for you.
If you want to understand why the keys sit on your side rather than ours, read How Your Data Is Protected. This page is the operational half.
What happens when you sign up
You fill in an email address and a password. Then, before you reach the dashboard, LumaVista runs your encryption setup. It takes a few seconds and you do not have to do anything.
Behind that progress indicator:
- Your browser generates a device keypair — an X25519 keypair, created locally. The private half is written to your browser’s local storage and never sent anywhere. Not to us, not over the connection, not ever.
- A master key is generated — the key that protects everything else.
- The master key is wrapped to your device’s public key and the wrapped blob is sent to the server. We store the locked box; your device holds the only key that opens it.
- A data key is generated and wrapped under the master key. This is what actually encrypts your research, notes, chat history and knowledge graph.
- A recovery blob is created, wrapped under your password, and stored. This is your way back if you lose the device.
Then you are shown your recovery sheet.
Your recovery sheet
The recovery sheet is a printable page with a QR code and a recovery code. It appears once, at the end of setup.
Print it, or save the file. There is a download button that gives you a .json file, and a print button. Either is fine; paper survives things that files do not.
Two things about it that matter more than they look:
It pairs with your login password. The recovery sheet on its own is not enough, and your password on its own is not enough. Recovery needs both. This is why the sheet is safe to print and put in a drawer — someone who finds it still cannot open your account. (If you sign in through your organisation’s SSO, the sheet pairs with a separate recovery passphrase instead, and the sheet will tell you which one it wants.)
We cannot generate another one for you. We do not hold a copy, and there is no support process that recovers your data. That is not a policy we could soften on request — it follows from the key never having been ours.
If you ever change your password because you think it was exposed, rotate your encryption key as well, from Settings → Security. Changing the password alone does not re-wrap the existing recovery blob. Rotating the key is what actually retires the old credential’s path to your data.
Managing your devices
Everything below lives in Settings → Security.
Each “device” is a browser or app you have enrolled — a keypair, not a piece of hardware. Your work laptop’s Chrome and the same laptop’s Firefox are two devices, because the key is held per browser profile.
The device list shows each enrolled device, when it was enrolled, and marks the one you are currently using.
Adding another device
Sign in on the new browser. It has no device key, so it generates one and asks to join your account. Then, on a device that is already enrolled, approve the request from Settings → Security. The approving device unwraps the master key with its own key, re-wraps it to the new device’s public key, and sends up the new blob.
The approval step is the whole security model in one interaction: joining your account requires something that is already inside it. A stolen password alone does not get someone in, because a new browser still has to be let in by an existing one.
Revoking a device
If a device is lost, sold, or simply no longer used, revoke it from the device list. You can optionally kill that device’s active sessions at the same time — do that if the concern is theft rather than tidiness.
Revoking does not by itself rotate your keys. This is worth stating plainly, because it is easy to assume otherwise. Revocation stops that device from starting new sessions. If you believe the device’s stored key may have been extracted by someone, revoke it and then rotate your encryption key — rotation is what makes the old key material useless. The two are separate actions on the same screen, deliberately, because rotation re-wraps everything and is not something to trigger by accident.
Rotating your key
Rotation generates fresh key material and re-wraps your data under it. Your remaining enrolled devices pick up their new wrapped blobs on their next connection; you may see a brief re-authentication.
Rotate when you have revoked a device you do not trust, when you have changed a password you believe was exposed, or on whatever schedule your organisation requires.
Locking your session
Ctrl + Shift + L locks your session immediately, from anywhere in the app. Key material is dropped from memory and your data goes back to being unreadable until you unlock.
Use it when you step away from a shared machine. It is faster than logging out and it does not lose your place.
Recovery: what works and what does not
You still have an enrolled device
Nothing special to do. Use it to approve a new one, and revoke whatever you lost.
This is the recovery path that actually works, and it costs nothing to set up in advance. Enrol a second browser or a second machine today. It converts “I have lost my data” into “I have lost a laptop.”
You have your recovery sheet and your password
Sign in on a new device, choose to recover, and provide the sheet plus your password. Your master key is unwrapped from the recovery blob, re-wrapped to the new device, and you are back in.
Afterwards: revoke the devices you lost, and rotate your key.
You have neither
Your data is unrecoverable. Not “difficult to recover” — unrecoverable, by us as well as by you.
There is no escrow. There is no administrator anywhere, in any deployment, holding a key that opens your account. We do not offer this as an enterprise option, because the moment it exists it is a thing that can be compelled, leaked, or misused, and its existence would make every other promise on this page conditional.
That is the trade. Device-controlled encryption means nobody can read your research without your key — and that has to remain true when the person locked out is you.
What is stored where
| Thing | Where it lives | Who can read it |
|---|---|---|
| Device private key | Your browser’s local storage, on that device | That browser only |
| Master key, wrapped to each device | Our servers | Only a device you control can unwrap it |
| Data key, wrapped under the master key | Our servers | Nobody, without an unwrapped master key |
| Recovery blob, wrapped under your password | Our servers | Nobody, without your password and your sheet |
| Your actual research, notes, knowledge | Our servers, encrypted | Nobody, while you are disconnected |
The pattern throughout: we hold locked boxes and you hold keys.
The companion app
A LumaVista companion app for iOS and Android is in development. It will move your device key into your phone’s dedicated security hardware — Secure Enclave on iOS, StrongBox or the Trusted Execution Environment on Android — and put a biometric check in front of unlocking, so your phone becomes the trust anchor and the browser borrows access from it.
It is not released yet, and you do not need it. The browser-based setup described on this page is the full encryption model: keys generated on your side, never held by us, no escrow. The app will make the key harder to extract from a compromised device and more convenient to carry between machines. It does not change who holds it.
There is nothing to do now to prepare for it. When it ships, enrolling a phone will be the same “add a device” flow described above.
Next steps
- How Your Data Is Protected — the architecture behind this: per-user isolation, what lives where, and what happens when you delete your account.
- Where Your Data Is Processed — encryption protects data at rest; this is where it goes when it has to be computed on, and why every model running your research is EU-sovereign.
- Unattended Actions and Approvals — what happens to all of this when an automation runs while you are offline.
- Security Overview — LumaVista’s security commitments at a glance.